Tag: How to Dry Weed
Simple Drying Weed Strategies & Learn Step-by-Step How To Dry Weed Plants
Written by thcscout on . Posted in Cooking. No Comments on Simple Drying Weed Strategies & Learn Step-by-Step How To Dry Weed Plants
▸▸ Subscribe To Our “GC Insider” Newsletter: https://greencultured.co/industry-resources/gc-insider/
▸▸ Get Tuition-FREE Courses (Learn Weed Drying Like A Pro): https://greencultured.co/industry-resources/free-trial/
Did you know that drying weed is one of the most crucial steps in the cultivation process?
Drying weed is both an art & a science when drying & curing buds…
Get it RIGHT & you’ll have a top-shelf product… OR get it WRONG & you risk losing potency, flavor & even risk consumer safety (or get shut down by gov’t regulators)…
Learn the simple steps from – how to dry weed so you’ll KNOW exactly how to cure weed – that’ll build a high-income skill when drying & curing weed for beginnings…
We’ll break down the exact steps for drying weed effectively to maximize both quality & yield ($$$) while ensuring consumer safety & ALWAYS ensure gov’t compliance.
Perfecting this can be the difference between a mediocre product & a market-leading one that could be a @hightimes “Canna Cup Winner”…
Drop a comment if you found this video helpful & let’s keep the conversation going!
Don’t forget to like, subscribe & turn on notifications for more weed cultivation tips.
Disclaimer: If at any point in this video, you think, I can’t understand this, you might not be cut out to be in this “Green Rush”…
BUT, if you’re willing to do the work, then this roadmap is for you.
IG: https://www.instagram.com/greencultured
X: https://www.x.com/greencultured
Table of Contents
– Introduction to Drying & Water Activity
– Controlling Mold During Drying
– How to Measure Moisture Content
– Alternatives to Loss-on-Drying Methods
– Maximizing Quality & Yield ($$$)
– Understanding Moisture Models
– Using a Chilled Mirror Hygrometer
– Weed Drying Standards
1. Introduction to Drying & Water Activity
Water Activity (aw) is a key factor in drying weed & is often associated with Relative Humidity (RH)… so in the context of weed, it refers to the moisture content within the plant material.
Learn how to dry ganja so that when it reaches “equilibrium” with its surrounding air, the RH matches its Water Activity (aw) when drying weed & knowing the optimal “done” point is essential.
2. Controlling Mold During Drying
Weed mold & fungus microbial growth depends on Water Activity levels & by reducing the Water Activity of weed plants to a certain threshold then fungus mold growth can be prevented.
Mold control relies on maintaining Water Activity below 0.65 aw, as higher levels allow mold to thrive so regular testing during drying helps ensure compliance with safety standards & preserves the crop’s quality.
3. How to Measure Moisture Content
Moisture content is often measured using a loss-on-drying method, where a weed sample is weighed before & after drying – this weight difference reflects the moisture percentage.
However, this method has limitations, such as difficulty defining “fully dry weed” & potential inaccuracies due to volatile compound loss.
4. Alternatives to Loss-on-Drying Methods
Karl Fischer titration, common in the pharmaceutical industry, precisely measures water content but requires hazardous reagents & expert handling.
Another effective alternative is the moisture sorption isotherm method, which determines moisture levels based on Water Activity changes during drying.
5. Maximizing Quality & Yield
Precision in moisture measurements is crucial for achieving consistent quality & yield along with having a variation of just ±1% in moisture can significantly impact yield.
By setting a Water Activity specification (e.g., 0.62 aw) plus using precise tools like a chilled-mirror hygrometer, cultivators can ensure that dried ganja maintains high quality & safety while maximizing yield.
6. Understanding Moisture Models
Moisture models map the changes in Water Activity during drying & despite differences in genetics (strain variations), testing shows consistent isotherm curves across ganja strains.
Instruments like vapor sorption analyzers create desorption & adsorption curves to reflect moisture changes, offering insights into optimal drying & rehydration processes.
7. Chilled Mirror Hygrometer
The chilled-mirror hygrometer is one of the most reliable tools for measuring Water Activity in dried weed & provides quick, accurate results & is less affected by contamination than other sensors.
8. Plant Drying Standards
Regulations for dried weed vary by jurisdiction, but maintaining safe Water Activity levels is crucial across the board.
Direct moisture measurement methods, such as oven drying & Karl Fischer titration, offer higher precision, while indirect methods, like infrared spectroscopy, require calibration to direct methods.
This is THE step-by-step guide I wish anyone starts drying & curing weed for beginners…
How to Cure Weed like Wine, Aging and Drying your Harvest for THC, Potency and Aroma.
Written by thcscout on . Posted in Grow. No Comments on How to Cure Weed like Wine, Aging and Drying your Harvest for THC, Potency and Aroma.
Sorry for a long video, but curing marijuana buds is absolutely the most underrated process in harvesting weed and the most difficult to conceptualize. In this video, I break down exactly the whys and hows on curing and dispel any myths on if it improves THC content. Biologically, a number of compounds transform and the break down of organic matter undeniably improves the THC, terpenes and smoke quality. This is knowledge based on both my own experience (bro science) as well as scientifically.
IMPORTANT: We do NOT in any way shape or form condone any illegal activities. Please refer to our website for a list of all legal and illegal to grow states. We do not sell anything and we discourage the use of marijuana by minors. https://www.howweedgrow.com/category/legal/
Share your harvests on our discord.
https://discord.gg/W2jytARrV9
Actual video teaching how to cure starts at 2:18
Link to Chart in Video: https://www.howweedgrow.com/wp-content/uploads/2021/11/How-to-Cure-Chart-2021-Hwgrow.pdf
Sources are as follows:
The Cannabis Grower’s Handbook by Ed Rosenthal: https://amzn.to/3aASypE
Chemical Conversion of THCa to THC: https://www.ncbi.nlm.nih.gov/pmc/articles/PMC5549534/
Microbial degradation of chlorophyll(study): https://www.mbl.edu/microbialdiversity/files/2012/08/mdiv2010Jaekel.pdf
Dr. Robb’s break down on the curing process: https://darkheartnursery.com/from-the-garden/drying-and-curing-cannabis/
What you will need:
Amber Mason Jars (Blocks out more UV light that degrades THC): https://amzn.to/3x4HTOQ
My favorite mason jars (fits to 1-2 ounces) https://amzn.to/3zmAf5a
Gallon Mason Jars: Clear: https://amzn.to/3xraMXd
Mini Digital Hygrometer(Best Value): https://amzn.to/3Mpy83I
Optional Boveda 62%: https://amzn.to/3Q4C9gK


To see the full day to day grow journal: https://discord.gg/nwDXKeBV4g


How to Hang Dry Weed – EASY Guide on Drying Cannabis Perfect
Written by thcscout on . Posted in Beginners. No Comments on How to Hang Dry Weed – EASY Guide on Drying Cannabis Perfect
Freshly cut buds will have about 75% water weight and you want to bring this down to about 10-15%. This will allow chlorophyll in your buds to break down and remove the majority of the hay and grassy scent apparent in fresh cut buds. The whole process can take anywhere from 3 to 14 days, depending on size of buds, amount of foliage and stems and the environment. Properly dried buds will improve the smoke quality and preserve the terpene and THC content.
The first thing you need to do is pick a DARK location in your house that’s close to 60 degrees Fahrenheit and 55% humidity. Just find the room that’s closest to this combo using a thermometer/hygrometer. The room needs to be dark because sunlight contains UV light which will degrade THC. It’s also worth noting, that these plants will be DANK during the first couple of days of drying, so if that’s an issue, you may want to dry in a carbon filtered grow tent. These numbers don’t have to exact, but it’s important they don’t fluctuate and as long as you’re not more than 10 degrees off, I’d say you’re safe. If you’re more than 10 degrees, you may need to control the variables using a heater, AC unit, humidifier or dehumidifier:
Dehumidifier: https://amzn.to/3JOKNzv
Humidifier: https://amzn.to/3DOA8AU
Portable AC: https://amzn.to/3Ywlrel
Space Heater: https://amzn.to/3HL095l
Best Thermometer/Hydrometer: https://amzn.to/3Kj0I9w
High humidity may lead to mold and bud rot, where low humidity may result in your bud drying too fast. Bud that dries too fast will trap chlorophyll in the center of the buds and that doesn’t taste good. Now, were finally ready to chop, I chop right before I was supposed to feed the plants so that as much moisture evaporates naturally.
Some people like to leave their plants in complete darkness for up to 2 days before they chop, but I just chop right in the morning, right before light is about to start in the tent. Now, get your gloves and put them on because its gonna get real sticky.
Drying begins the day that you chop and if you could chop and flip the whole plant in one piece, DO IT. However, most of the time my plants will collapse once I remove the supports, so then, I have to chop by the branch.
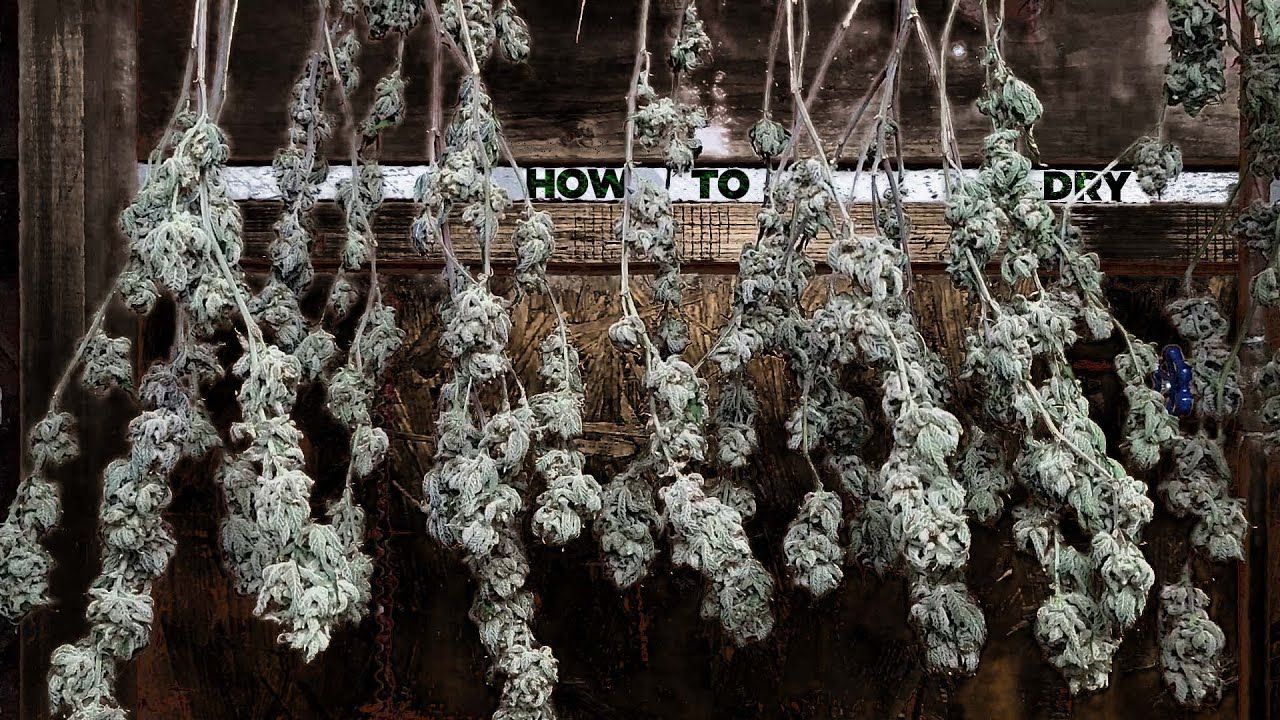
Once all these leaves are off, you’re ready to hang. I like to hang using soft twist ties because they’re easy to use and for branches, you don’t even need to tie them. I reuse the ones I used for low stress training and loop it around branch onto the hanging line. As I’m hanging the buds, I am spacing them out and making sure none of them are touching or too close. If I’m drying in a small room, I like to add a small fan and put it on its lowest setting. I never aim the fan directly at the plants and usually aim it at a wall on an angle. This will help prevent isolated cases of high humidity which happens when buds aren’t spaced out evenly.
Once all the buds are hung, closely monitor the temperature and humidity to make sure nothing gets thrown off. For the first 2 days you will notice the same pungent bud like scent that came from your grow tent while the buds were ready to harvest. This is where the majority of the moisture evaporates and on day 3-5 you’ll notice more of the hay and grass like scent.
You may think that the plants have lost their aroma, but this is where the chlorophyll is just breaking down and with that, the grassiness is evaporating. The smell will be less obvious in the days that follow and soon you’ll be ready to trim. During days 5 and on, I use my sense of touch to know when the buds are dry. Find a stem that’s as thick as a toothpick and use both hands to see if the stem cracks. If it bends, theres still moisture in the buds and you want it to kind of snap. Another great method is weight based drying but it requires a hanging scale. By measuring the wet weight, I wait until around 70% of the water weight evaporates to start snapping. Ive been tracking these weights and 72% seems to be my sweet spot.
Hanging Scale: https://amzn.to/3YvqXNy
The buds will seem dry to the touch, but the inside still contains moisture which we’ll balance out in curing.
#drying #dryingweed #dryingcannabis
How To Harvest, Dry, & Cure Cannabis (The Right Way)
Written by thcscout on . Posted in Beginners. No Comments on How To Harvest, Dry, & Cure Cannabis (The Right Way)
#viralvideo #CannabisCultivation #HarvestingCannabis #CuringCannabis #DryingCannabis #PerfectBuds #CannabisTips #GrowYourOwn #MarijuanaGrowing #fyp
In this video, you’ll learn about:
– The best time to harvest your cannabis plants for peak potency and flavor
– Step-by-step instructions on how to properly cut and trim your buds
– Effective drying techniques to preserve terpenes and cannabinoids
– The optimal curing process to enhance the taste and aroma of your cannabis
– Common mistakes to avoid during harvesting, drying, and curing
Join us as we explore the latest trends and practices that will elevate your cannabis cultivation skills. Don’t forget to like, subscribe, and hit the notification 
DISCLAIMER: Please follow all local laws and this is intended to help people grow medicinal marijuana legally or learn about to cannabis plant’s growth.
Drying and Curing Weed – A Beginner’s Guide with Kyle Kushman.
Written by thcscout on . Posted in Beginners. No Comments on Drying and Curing Weed – A Beginner’s Guide with Kyle Kushman.
• Bud check. Use your touch to know if it’s time to let plants off. There should be some spring left to the bud when you squeeze into it.
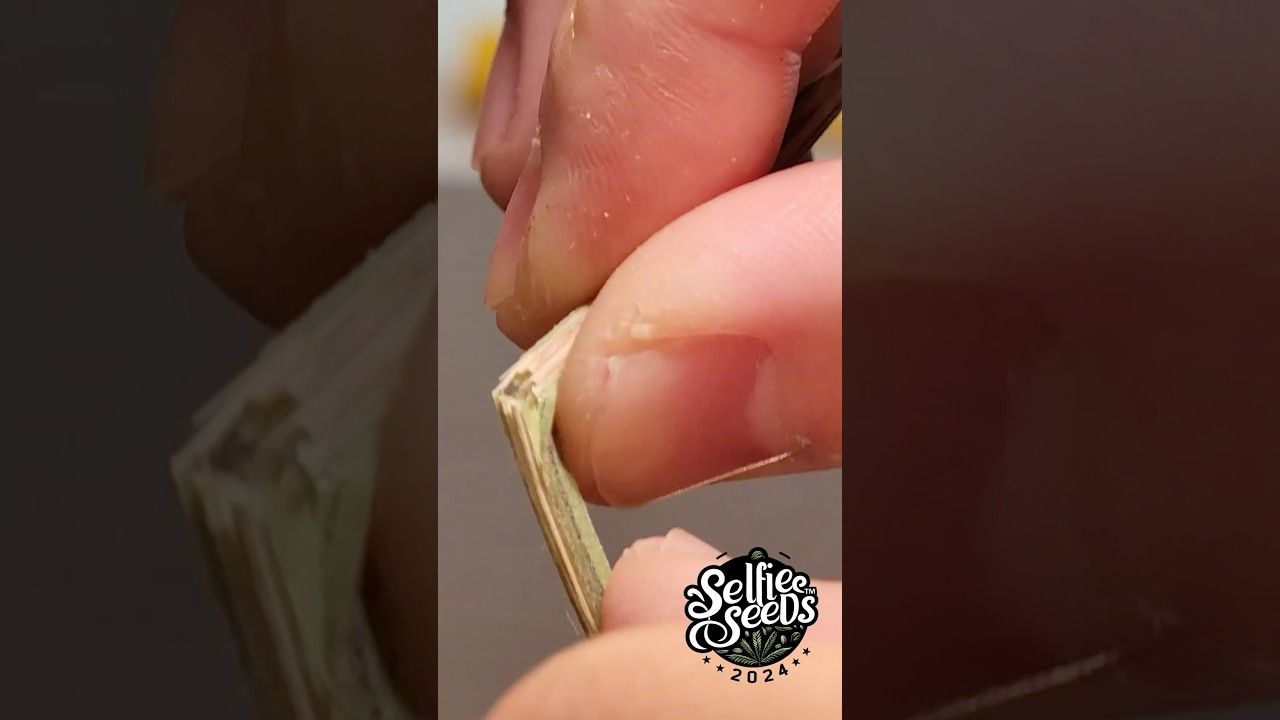
• Snap test. You want a stem that snaps and creates a little crack rather than bends or breaks in half. Once that is achieved, take the flowers and remove them from the stem. You will get a little snap from the stem and a tiny piece of hemp is going to roll along as you try to pull it off.
• Smoke test. Do a smoke test to know whether your flowers are ready for storage. Take the bud, roll it up into a joint, and light it. If the joint stays lit, you can seal those buds up.
After making sure the flowers are all set, it is time to seal them in a container. Here’s what you have to do:
• Break down the buds as much as you can, leaving as little stem as possible.
• Fill the glass jar completely to the top.
• Give a nice shake so the flowers settle down a little bit.
• Close the jar and leave it for a couple of days.
• Open the jar to see if the buds cured beautifully. If you smell candy, you can close the jar again and leave the flowers for as long as you like. However, if you smell a little ammonia, that means you put the flowers in the jar a little bit too soon. You have to discard your buds and curing is over for this time.
No matter the result, bear in mind that curing is an art form, and you’ll get better every time you do it. Plus, it’s always worth the effort because cured weed is so much better than uncured weed.
00:00 Introduction
00:12 How long do I hang my plants for?
00:22 How do I know when it’s time to take them off?
00:48 Taking the Buds off
01:18 Smoke Test
01:40 Containers
01:50 Curing
02:30 End Screen
#seeds #weed #cannabis #420 #growyourown #weedstagram #weedstagram420 #weedporn #cannabisculture #homegrown #cannabiscommunity #trichomes #harvest #weedculture #marijuanagrow #marijuanagram #indoorgardening #cannabisgrow #cannabisgrower #weedcommunity #weedfeed
Building a Budget Dry Room – Harvesting & Drying Marijuana
Written by thcscout on . Posted in Grow. No Comments on Building a Budget Dry Room – Harvesting & Drying Marijuana
In this episode of “From Seed to Stoned” I’ll be building a dry room tent for my plants. I’ll be building a budget friendly version for those who want to save some cash as well as build a more advanced version for those looking to get the most out of their setup. Both are great options! Lastly I will show you guys how I dry my cannabis plants perfectly. I talk about how long I dry, as well as talk about how to know when your plants are done drying. Hope you guys enjoy! Links to everything used below.
Checkout the Patreon here for one on one help with growing and exclusive content + new weekly grow series!
https://www.patreon.com/fromseedtostoned
Snapchat: SeedtoStonedSC
Instagram: FromSeedtoStoned
Subscribe for more!
Budget Dry Room:
Tent: https://amzn.to/2W1guu6
Exhaust Fan: https://amzn.to/2SURUJo
Clip On Fan: https://amzn.to/2ManIr7
Temp/RH Monitor: https://amzn.to/2ChUBxi
6″ Ducting: https://amzn.to/2M9GBdG
Para Cord: https://amzn.to/2M9vgdI
Budget Dehu: https://amzn.to/2SUSrem
Dry Room Upgrades:
Fan/Carbon Filter Kit: https://amzn.to/2SZHuZ6
Advanced Dehu: https://amzn.to/2STP0Vh
Harvest Supplies
Clippers: https://amzn.to/2VRAzD0
Clipper Cleaner: https://amzn.to/2SQeEdo
Gloves: https://amzn.to/2SWYy1G
Jars: https://amzn.to/2SQeFOu
Broveda Packs: https://amzn.to/2SUT2g6
Seeds:
https://www.seedsman.com/en/cannabis-seeds/?a_aid=FromSeedtoStoned
$300 Budget Grow Tent
Grow Tent – https://amzn.to/2w2F4zj
LED Grow Light – https://amzn.to/2Ps2KFp
Fabric Pots – https://amzn.to/2R3Dbuy
Exhaust Kit – https://amzn.to/2OW67mL
PH Pen – https://amzn.to/2Mv1ofm
Temp RH Monitor – https://amzn.to/2wingj1
10″ Fan – https://amzn.to/2MNTZXS
6″ Clip On Fan – https://amzn.to/2PvryfR
#Harvest #DryingCannabis #Weed


